 Save to Pinterest
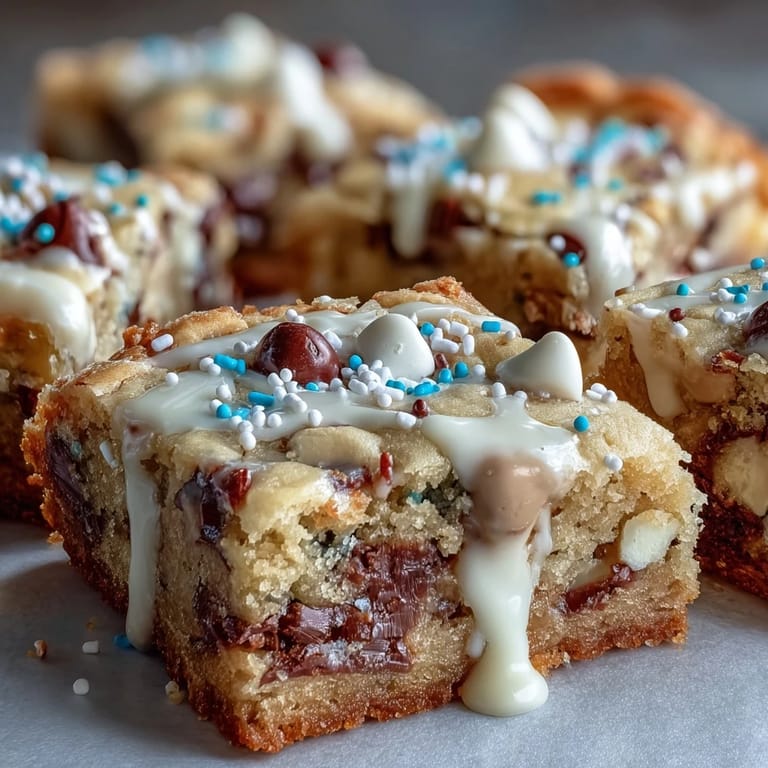
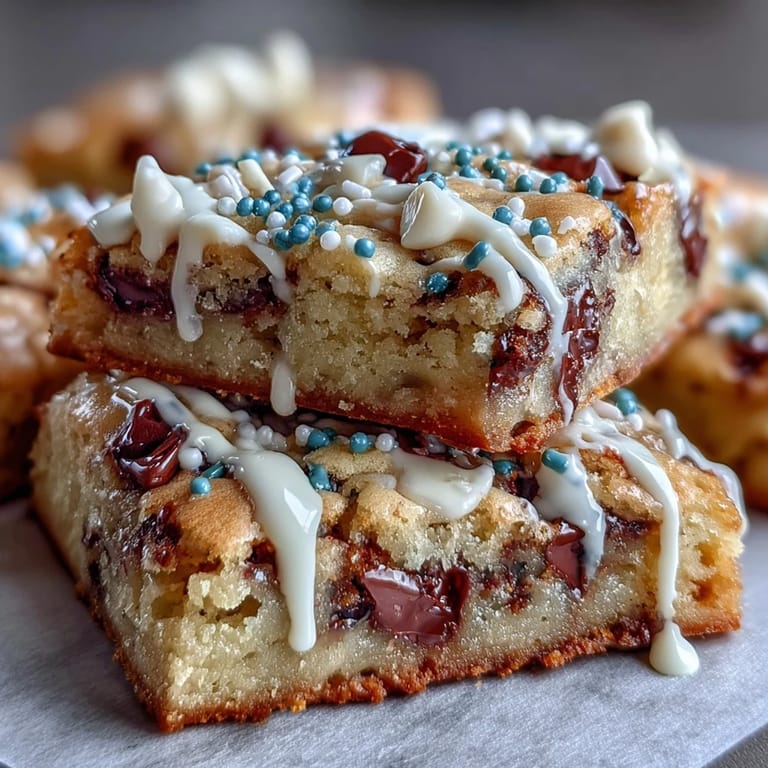
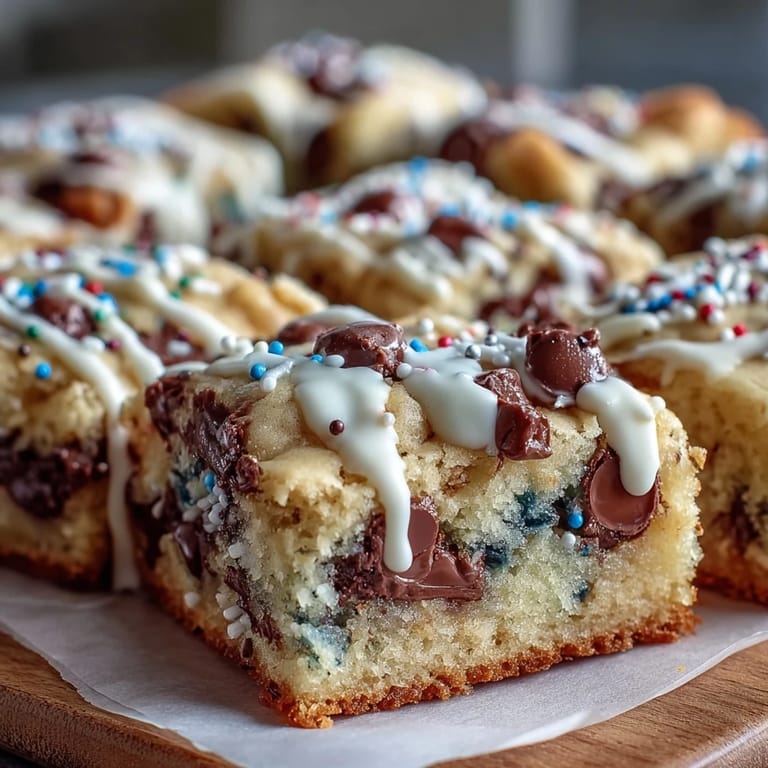
 The aroma of melting butter always transports me straight to celebrations, but making Graduation Cookie Bars gave it a twist—energetic, sweet anticipation with every stir. I found myself humming along to some upbeat tunes the first time I tossed in colored candy-coated chocolates, admiring how they mirrored the confetti mood of a graduation. These bars radiate cheerfulness right from their golden crust to the lively sprinkle of white chocolate drizzle. There's something about the easy prep and the promise of sharing them with a crowd that makes them irresistible. Even the cleanup is quick, so you can focus on enjoying the party.
I remember making these for my cousin's graduation, and watching kids (and grown-ups) crowd the kitchen, jockeying for the next square. Someone suggested using a piping bag for the drizzle, and we ended up laughing as half the bars got more white chocolate than drizzle—turns out extra is never a problem. That day, the kitchen was full of chatter, cake crumbs, and bright wrappers, and the cookie bars disappeared before the speeches started. Now, whenever I make these, I use the same baking pan and let my nieces add the sprinkles. It's become a tradition that always signals a special occasion.
Ingredients
- All-purpose flour: This forms the sturdy base of the bars; sift before measuring for the fluffiest crumb.
- Baking soda: Just a teaspoon gives the bars the perfect lift, ensuring chewy edges and soft centers.
- Salt: Don't skip this—it balances out the sweetness and enhances the chocolate flavors.
- Unsalted butter: Melting, then slightly cooling, helps create moist, rich bars.
- Light brown sugar: This adds warm, caramel undertones and makes the bars extra chewy.
- Granulated sugar: A touch sharpens the sweetness and gives a little snap to the finished product.
- Large eggs: They bind everything together smoothly; room temperature eggs incorporate more easily.
- Pure vanilla extract: Go for real extract, not imitation—it rounds out the flavor beautifully.
- Semi-sweet chocolate chips: These add gooey pockets in every bite; stir them in gently to avoid breaking them.
- Colored candy-coated chocolates: Pick your school colors for a festive, custom look—layer them on top for extra flair.
- White chocolate: Chop with care; melting with oil ensures silky smooth drizzle.
- Vegetable oil: Just enough to keep the chocolate glossy and easy to pipe.
- Optional sprinkles: The finishing touch for maximum celebration—let little hands scatter them for fun.
Tired of Takeout? 🥡
Get 10 meals you can make faster than delivery arrives. Seriously.
One email. No spam. Unsubscribe anytime.
Instructions
- Prep Your Pan:
- Line your baking pan with parchment paper, giving generous overhangs—this will save you from sticky situations later.
- Mix Dry Ingredients:
- Whisk flour, baking soda, and salt together until you see no streaks; it's the quiet setup for a great bar.
- Combine Wet Ingredients:
- Vigorously whisk melted butter with sugars until creamy, then fold in eggs and vanilla so the batter turns glossy and fragrant.
- Fold and Merge:
- Slowly add in dry ingredients; use a spatula and stop as soon as the flour disappears—overmixing can make the bars tough.
- Stir in Mix-ins:
- Toss in the chocolate chips and candy-coated chocolates, stirring until just dotted throughout for color and crunch.
- Spread and Bake:
- Scoop the dough into the lined pan and press it evenly with damp fingers; pop in the oven and bake until golden around the edges and still a bit soft in the middle.
- Cool Completely:
- Let the bars rest in the pan on a wire rack—rushing this step makes cutting messy.
- Drizzle for Flair:
- Microwave white chocolate and oil short bursts, stirring between intervals; spoon or pipe over cooled bars, then sprinkle more candy or sprinkles if you like.
- Finish and Serve:
- Allow drizzle to firm up fully, then lift the bars out and slice into squares—don't forget to admire your handiwork before serving.
 Save to Pinterest
 When our kitchen was filled with balloons and the smell of fresh cookie bars, someone toasted with sparkling juice before we even set the tray on the table. Suddenly, those bars weren't just dessert—they were part of the celebration, a sweet way to honor the effort and joy of graduation. That moment is why this recipe means more to me each time I make it.
Getting the Perfect Chew
If you melt the butter and cool it just enough, then don't overmix the dough, the bars emerge with a soft center and crisp edge. I've learned to set my timer a couple of minutes before suggested baking ends; a quick poke in the center tells you if they're ready. The lingering heat in the pan finishes baking without drying them out. Sometimes I weigh flour for consistency, which minimizes occasional dry spots. A wire rack makes cooling even faster, so you can drizzle sooner.
Choosing Your Colors
Picking candy colors is honestly the most fun—let guests help if you're hosting. I've swapped in pastel blues and pinks for one party, or gone full rainbow for another; there's no wrong answer. Layering some candies on top creates a striking look after baking, and sprinkles always encourage smiles. The recipe is flexible enough to let your creativity shine. No matter how you decorate, the bars are always delicious.
Making White Chocolate Drizzle Look Professional
Microwave white chocolate slowly, stir patiently, and it turns out glossy and smooth. Using a piping bag or even a sandwich bag snipped at the corner makes zigzags neat and tidy, but a spoon works in a pinch. Melting too quickly can seize the chocolate, so short intervals are key. Letting it set undisturbed means your design won't smudge when cutting. And if you get drizzle everywhere, that's just more delicious!
- Plan ahead: Have all your mix-ins measured before starting.
- Don't crowd the bars in the oven; even heat means even baking.
- Use sharp, non-serrated knives to slice bars cleanly after the drizzle sets.
 Save to Pinterest
 Handing someone a square of these cookie bars feels like sharing a piece of the celebration. Keep the recipe close—you'll want to bake it whenever joy is in the air.
Questions & Answers
- → How can I customize colors for school themes?
Use different colored candy-coated chocolates and sprinkles to match school colors and celebrate graduation in style.
- → Do I need to chill the dough before baking?
No chilling is required; the dough can be baked immediately after mixing for convenience and quick preparation.
- → Can I substitute different chocolate chips?
Yes, dark or milk chocolate chips can be used instead of semi-sweet, depending on your flavor preference.
- → How should these bars be stored?
Keep bars in an airtight container at room temperature to maintain freshness for up to four days.
- → What tools are necessary for making these bars?
You’ll need a 9x13-inch pan, parchment paper, mixing bowls, whisk, spatula, wire rack, and a microwave-safe bowl.
- → Are there allergen considerations?
These bars contain wheat, milk, eggs, and soy. Check candies for nut presence and always review labels if allergies are a concern.