 Save to Pinterest
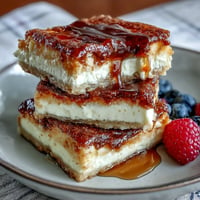
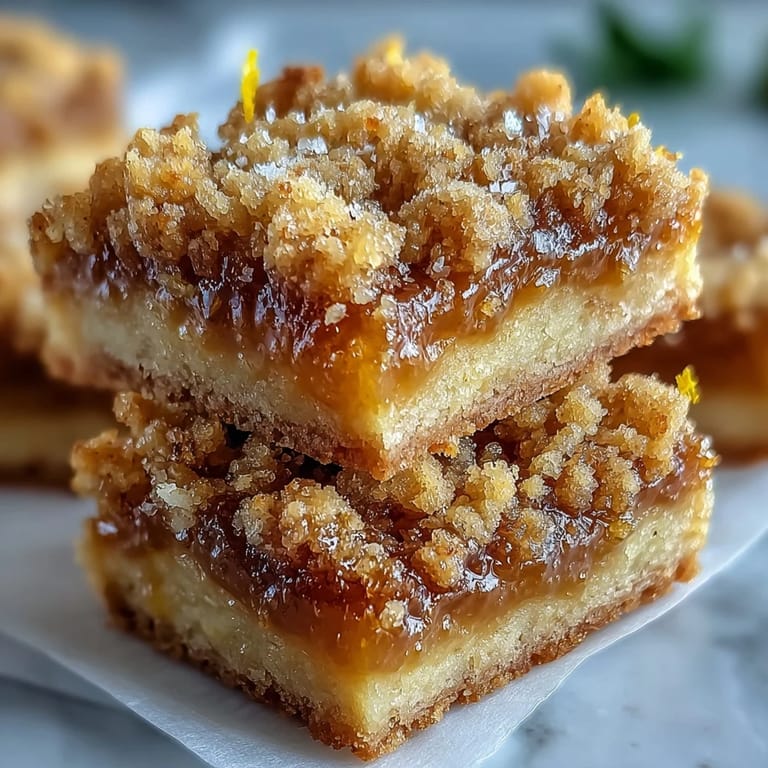
 The smell of lemon zest hitting warm butter is what I remember most from that Sunday afternoon when I decided to stop buying boxed dessert mixes. I had a bag of lemons from the farmers market sitting on my counter, and I was tired of the same chocolate chip cookies. These bars came together so easily that I almost didn't trust them, but one bite of that tangy filling against buttery crumbs made me a believer. Now they're my go-to when I need something bright and simple that doesn't require fancy skills or all day in the kitchen.
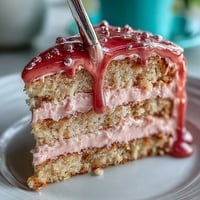
I brought these to a spring picnic once, and my friend Sarah, who usually skips dessert, ate three squares standing by the cooler. She kept saying she couldn't believe they were homemade because they tasted like something from a fancy bakery case. That's when I realized these bars have a way of surprising people who expect lemon desserts to be either too tart or too boring.
Ingredients
- All-purpose flour: Forms the base of both the crust and the filling, giving structure without heaviness, and I've learned that spooning it into the measuring cup instead of scooping prevents dense, tough bars.
- Granulated sugar: Sweetens the crumb layers and balances the tart lemon punch in the filling, and using exactly the amounts listed keeps everything in harmony.
- Baking powder: Adds just a little lift to the crust and helps the filling set with a tender, cake-like texture instead of turning rubbery.
- Salt: A small pinch sharpens all the flavors and keeps the buttery sweetness from feeling flat or one-dimensional.
- Unsalted butter, melted: Brings rich, golden flavor to the crumbs, and melting it instead of creaming saves time while creating that perfect sandy texture.
- Large eggs: Bind the lemon filling and give it body, and using room temperature eggs helps them whisk smoothly without lumps.
- Fresh lemon juice: Delivers bright, clean citrus flavor that bottled juice just can't match, and I always roll my lemons on the counter before juicing to get every drop.
- Lemon zest: Packs aromatic oils that make the whole kitchen smell incredible and deepen the lemon flavor beyond what juice alone can do.
- Powdered sugar for dusting: Optional but adds a bakery-style finish and a tiny extra touch of sweetness on top.
Tired of Takeout? 🥡
Get 10 meals you can make faster than delivery arrives. Seriously.
One email. No spam. Unsubscribe anytime.
Instructions
- Preheat and Prep Your Pan:
- Set your oven to 350°F and grease your 9x9-inch pan or line it with parchment, leaving some overhang so you can lift the whole slab out later. This little step makes slicing so much easier and saves you from wrestling bars out of corners.
- Make the Crumb Mixture:
- Whisk together the flour, sugar, baking powder, and salt in a medium bowl, then pour in the melted butter and stir until it looks like wet sand. It should clump when you squeeze it but still feel loose and crumbly.
- Form the Crust:
- Scoop out half a cup of the crumb mixture and set it aside in a small bowl for later. Press the rest firmly and evenly into the bottom of your pan, making sure there are no gaps or thin spots.
- Bake the Crust:
- Slide the pan into the oven and bake for 10 to 12 minutes until the edges just start to turn golden. The crust will firm up as it cools, so don't wait for it to look completely done.
- Mix the Lemon Filling:
- While the crust bakes, whisk the eggs and sugar in a large bowl until smooth and slightly thickened. Add the lemon juice, zest, flour, baking powder, and salt, then whisk until there are no lumps and the mixture is silky.
- Assemble the Layers:
- Pull the hot crust from the oven and immediately pour the lemon filling over it, spreading gently if needed. Sprinkle the reserved crumbs evenly across the top, letting some filling peek through.
- Bake Until Set:
- Return the pan to the oven and bake for 20 to 25 minutes until the filling no longer jiggles in the center and the crumb topping turns light golden brown. The edges might puff slightly, and that's normal.
- Cool and Chill:
- Let the bars cool in the pan on a wire rack for at least an hour, then cover and refrigerate for another hour or longer. Chilling firms up the filling so your slices stay neat and clean.
- Slice and Serve:
- Lift the chilled slab out using the parchment overhang if you used it, then slice into 16 squares with a sharp knife, wiping the blade between cuts. Dust with powdered sugar right before serving for a pretty finish.
 Save to Pinterest
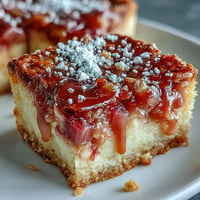
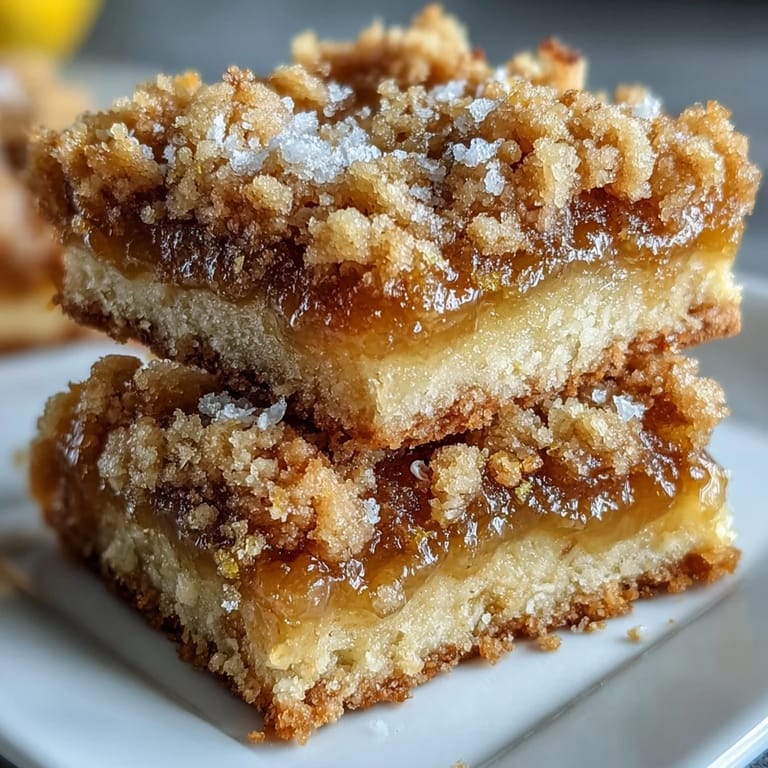
 There's something about these bars that makes people linger at the table a little longer. Maybe it's the way the tartness wakes up your taste buds, or maybe it's just nice to have something homemade that didn't require a culinary degree. Either way, they've become my quiet kitchen win, the recipe I turn to when I want to feel capable and make people smile without breaking a sweat.
How to Know When They're Done
The filling should look set but still have a slight wobble in the very center when you gently shake the pan, kind of like a just-set custard. The crumb topping will turn a pale golden color, and the edges of the filling might puff up just a little. If the top starts browning too fast, tent the pan loosely with foil for the last few minutes.
Storage and Make-Ahead Tips
These bars keep beautifully in an airtight container in the fridge for up to a week, and honestly, they taste even better on day two when the flavors have mellowed and married. I like to cut them all at once and layer them between sheets of parchment paper so they don't stick together. You can also freeze them for up to three months, just thaw in the fridge overnight before serving.
Serving Suggestions and Variations
I've served these with whipped cream, with vanilla ice cream, and plain with a cup of Earl Grey, and they've never disappointed. Swap lime juice and zest for the lemon if you want a tropical twist, or add a handful of fresh blueberries to the filling before baking for a fun burst of color and flavor.
- Dust with powdered sugar right before serving so it doesn't melt into the bars.
- Try adding a teaspoon of vanilla extract to the filling for a subtle warmth.
- Cut them smaller for parties or larger for a more indulgent dessert portion.
 Save to Pinterest
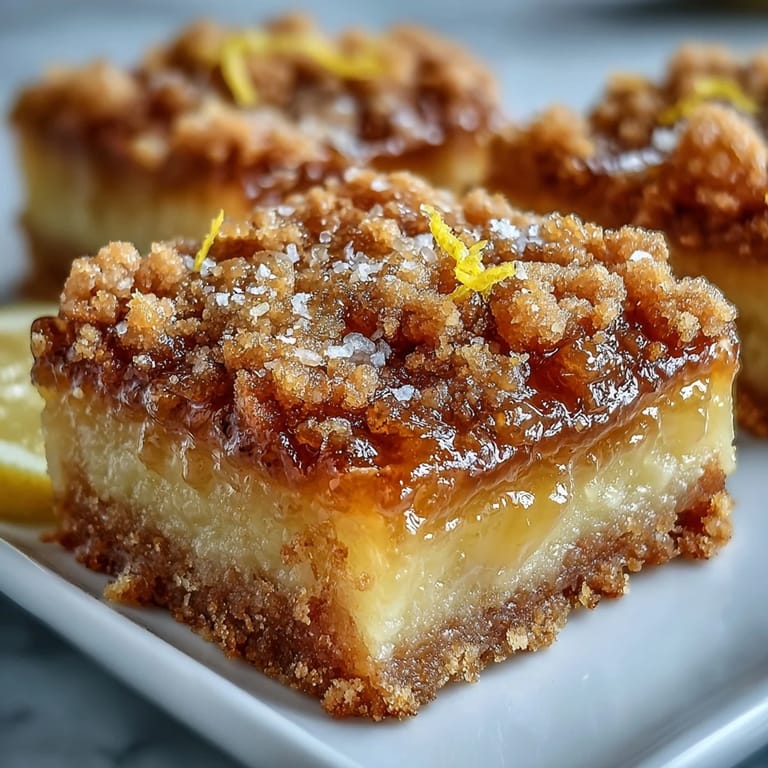
 These lemon crumb bars have a way of turning an ordinary afternoon into something a little brighter, a little sweeter. I hope they find a spot in your regular rotation the way they have in mine.
Questions & Answers
- → Can I use bottled lemon juice instead of fresh?
Fresh lemon juice is highly recommended for the best bright, vibrant flavor. Bottled juice may result in a less pronounced citrus taste and can sometimes have a slightly bitter aftertaste.
- → How do I know when the lemon filling is fully set?
The filling should no longer jiggle in the center when you gently shake the pan. It will firm up further as it cools and chills in the refrigerator.
- → Can I make these bars ahead of time?
Yes, these bars actually improve after chilling overnight. Store them covered in the refrigerator for up to one week, making them perfect for advance preparation.
- → Why do the bars need to chill before cutting?
Chilling allows the lemon filling to fully set, making it much easier to cut clean, neat squares. Cutting while warm will result in messy, uneven pieces.
- → Can I freeze lemon crumb bars?
Yes, these bars freeze well for up to 3 months. Wrap individual bars in plastic wrap, then place in an airtight container. Thaw in the refrigerator before serving.
- → What can I do if my crumb topping is too dry?
Add an extra tablespoon of melted butter to the crumb mixture and stir until it reaches a moist, sandy texture that holds together when pressed.