 Save to Pinterest
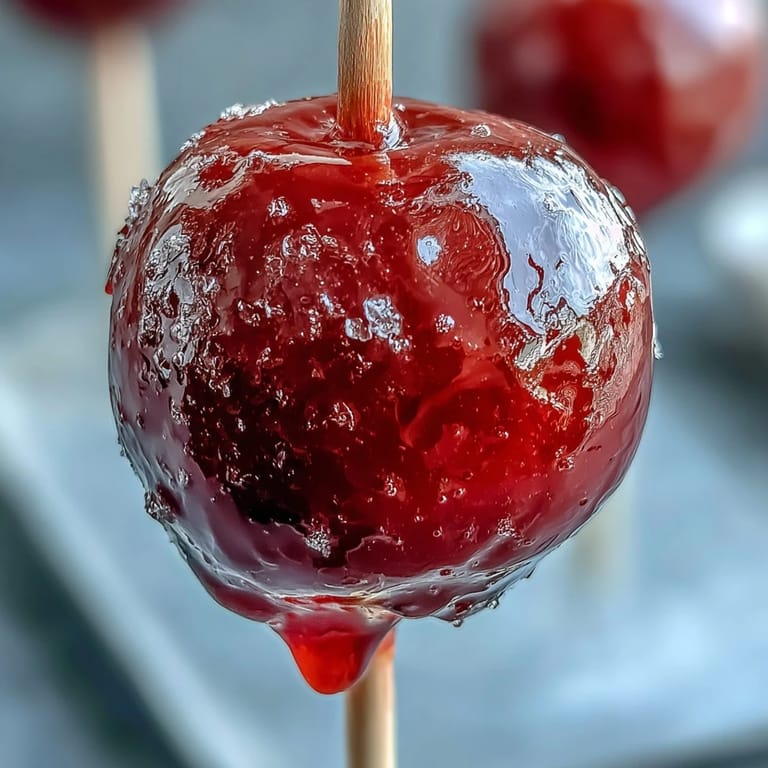
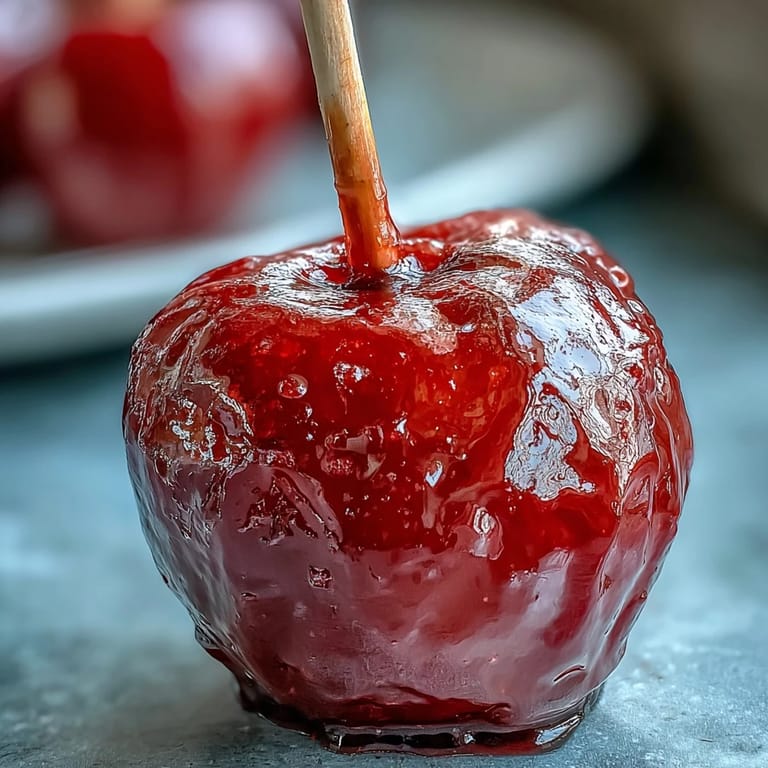
 My neighbor's daughter showed up at my door with sticky fingers and the biggest smile, holding a candy apple she'd made at a school fair. That one glimpse of the glossy red shell catching the afternoon light had me hunting down a recipe that very evening. Now, whenever I make these bite-sized versions, I'm reminded that sometimes the simplest treats create the most memorable moments—especially when they're small enough for little hands to manage without the mess.
I made these for my son's birthday party on a rainy Saturday afternoon, and watching the kids' faces light up when they saw the gleaming red apples lined up on the table was worth every sticky second. One little girl asked if they were magical because they looked so shiny, and I couldn't bring myself to tell her they were just caramelized sugar—let her keep the magic.
Ingredients
- Small apples (Gala, Fuji, or crabapples): Use fruit that's firm and slightly tart to balance the sweetness of the candy shell; smaller varieties mean more apples to share, and crabapples are naturally the perfect size for one bite.
- Granulated sugar: This is your candy foundation, so don't skip it or substitute—it needs to reach exactly the right temperature to create that satisfying crunch.
- Light corn syrup: This keeps the candy from crystallizing and makes the coating silky smooth; I learned the hard way that regular corn syrup works just fine if that's what you have.
- Water: Just enough to get the sugar dissolving without making the mixture too thin.
- Red gel food coloring: Gel holds its color better than liquid, and a little goes a long way—I always add it slowly to avoid oversaturating the mixture.
- Wooden sticks: These need to be food-safe and sturdy enough to hold up the weight; I've had better luck with proper lollipop sticks than thin ones.
- Nonstick cooking spray or parchment paper: Either works beautifully for keeping the finished apples from sticking.
Tired of Takeout? 🥡
Get 10 meals you can make faster than delivery arrives. Seriously.
One email. No spam. Unsubscribe anytime.
Instructions
- Prep your apples with intention:
- Wash and dry each apple thoroughly because water on the surface will fight against the candy sticking properly. If you're using larger apples, halve them and scoop out the centers with a melon baller, then push your wooden stick firmly into the stem end—this is where patience matters, because a secure stick means a successful dip.
- Set up your workspace:
- Line your baking sheet with parchment paper and give it a light coating of nonstick spray, or use a silicone mat. This small step prevents heartbreak when your beautiful apples try to cement themselves to the pan.
- Build your candy mixture:
- Combine sugar, corn syrup, and water in a medium saucepan and stir over medium heat until the sugar completely dissolves and the mixture looks clear. Watch for this moment—it's when you know everything is ready to work magic.
- Reach the hard crack stage:
- Turn up the heat to high and let it boil without stirring; this is crucial because stirring can cause crystallization and ruin your whole batch. Use a candy thermometer and cook until it hits 290°F (143°C), which should take about 8 to 10 minutes, and you'll actually see the mixture start to turn pale golden at the edges.
- Add your color:
- Pull the pan off the heat and carefully stir in the red gel food coloring until it's evenly distributed throughout. The mixture will be extremely hot, so move with intention but not panic.
- Dip with confidence:
- Working as quickly as you can without burning yourself, dip each apple into the hot candy, swirling it gently to coat evenly, then let the excess drip off before placing it on your prepared sheet. The faster you work, the thicker and more gorgeous your coating will be.
- Let it set completely:
- Give the apples about 10 minutes at room temperature to cool and harden; the candy should go from glossy and soft to hard and satisfying as it cools. Resist the urge to touch them or move them around.
 Save to Pinterest
 There's a particular joy in seeing someone bite through that hard candy shell and hear the satisfying crack before the sweetness hits, followed by the tartness of the apple. It's the contrast that makes these so craveable, and it's why they've become my go-to when I want to give someone a little edible moment of happiness.
Decorating for Extra Impact
The moment the candy coating sets but is still slightly tacky—somewhere around that 30-second window after dipping—you can press sprinkles, crushed cookies, or mini chocolate chips right onto the surface. I learned this by accident when I had sprinkles sitting nearby and thought, why not, and now it's my favorite step because it transforms a simple candy apple into something that looks like it came from a fancy dessert shop.
Flavor Variations and Color Swaps
Once you master the basic red version, start experimenting with green food coloring for a tart visual (my kids always grab the green ones first), or try blue for something totally unexpected. You can also add a tiny splash of vanilla extract or cinnamon oil to the candy mixture right before dipping if you want to layer in more flavor, though I usually keep it simple and let the apple shine through.
Storage and Serving Wisdom
These are best eaten within a day or two of making them, and they should always stay at room temperature because the fridge makes the candy shell turn sticky and sad. I always wrap them individually in cellophane bags tied with ribbon if I'm giving them as gifts—it keeps them clean and makes them feel extra special, plus they last longer that way.
- Keep them in an airtight container at room temperature if you're storing them for more than a few hours.
- If you're making these for a party, dip them no more than 4 hours ahead so the coating stays its crispiest.
- Double-check that your wooden sticks are food-safe before you buy them, because not all craft sticks are meant for eating.
 Save to Pinterest
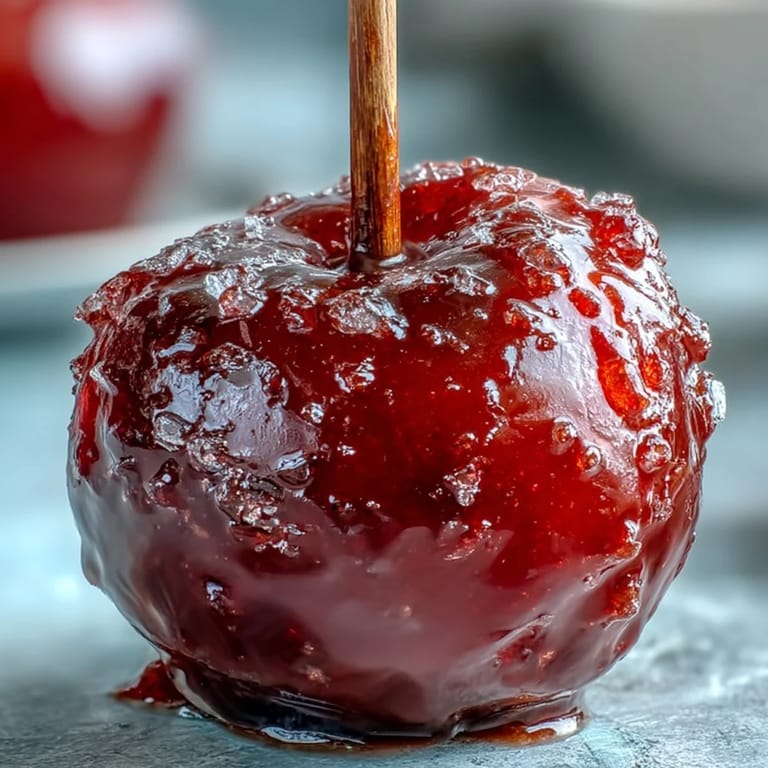
 These little candy apples have a way of turning an ordinary afternoon into something worth remembering. Whether you're making them for a celebration or just because someone deserves a sweet surprise, they're proof that the simplest recipes often create the biggest smiles.
Questions & Answers
- → What type of apples work best?
Small varieties like Gala, Fuji, or crabapples are ideal for easy coating and bite-sized servings.
- → How can I tell when the candy coating is ready?
Cook the syrup mixture to around 290°F (hard crack stage) for a shiny, crisp shell.
- → Can I use other food colorings?
Yes, feel free to experiment with green or blue gel colors for a custom look.
- → How do I prevent the candy coating from sticking?
Allow the coated apples to cool completely at room temperature; avoid refrigeration to keep the shell firm.
- → Are there safety tips for handling the hot syrup?
Handle with care as the syrup is extremely hot; adult supervision is recommended when preparing.