 Save to Pinterest
 My grandmother's kitchen smelled like cast iron and caramelized onions every Sunday afternoon, and I'd watch her move through this dish with the kind of practiced ease that comes from making it a thousand times. The first time I tried it myself, I almost rushed the onions—burned them black at the edges—but she caught my hand on the pan and said, 'Slow down, baby, the gravy knows when it's ready.' That lesson stuck with me more than any recipe card ever could.
I made this for my partner on a rainy Tuesday when neither of us had energy for anything fancy, and watching them close their eyes on that first spoonful of gravy—just genuine quiet contentment—made me understand why my grandmother guarded this recipe like a love letter. Sometimes the simplest dishes carry the most weight.
Ingredients
- Bone-in, skin-on chicken thighs and drumsticks (8 pieces total): These cuts have enough fat and connective tissue to stay juicy through the cooking time, unlike breasts which dry out; the bones also add body to the gravy if any drippings fall in.
- Salt, black pepper, paprika, garlic powder, onion powder: This seasoning blend goes on the chicken before breading, building flavor deep into the meat rather than sitting only on the surface.
- All-purpose flour (1 cup for breading, 3 tablespoons for gravy): The flour creates a protective crust that keeps the chicken from drying out while frying, and you'll use some of the same flour to thicken the gravy—waste nothing.
- Vegetable oil (1/3 cup): High heat tolerance is essential here; olive oil will burn and bitter, so stick with something neutral.
- Large yellow onions (2, thinly sliced): Yellow onions caramelize more evenly than whites and add a gentle sweetness that balances the savory broth.
- Low-sodium chicken broth (2 cups): Save room to adjust at the end; homemade stock will give you a richer, deeper gravy that tastes like it's been simmering for hours.
- Dried thyme, paprika, salt, black pepper, unsalted butter: Thyme brings an earthy note that rounds out the onion flavor, while the butter adds silkiness and richness to the finished gravy.
Tired of Takeout? 🥡
Get 10 meals you can make faster than delivery arrives. Seriously.
One email. No spam. Unsubscribe anytime.
Instructions
- Start with dry chicken:
- Pat your chicken pieces completely dry with paper towels—this is non-negotiable if you want skin that crisps instead of steams. Season everything generously on all sides, getting into the crevices where the meat meets bone.
- Dress the chicken in flour:
- Set up your shallow bowl with the flour mixture and work piece by piece, coating thoroughly and tapping off the excess; save that extra flour—it's your secret weapon for the gravy. The coating should look light and even, almost dusty.
- Fry until golden:
- Heat oil until it shimmers (a drop of flour will sizzle immediately), then lay chicken skin-side down without moving it around; let it sit for 6 to 8 minutes so the skin can actually brown instead of steam. Flip only once, cook the other side the same way, then transfer to a plate—the chicken is only half-cooked at this point, and that's exactly right.
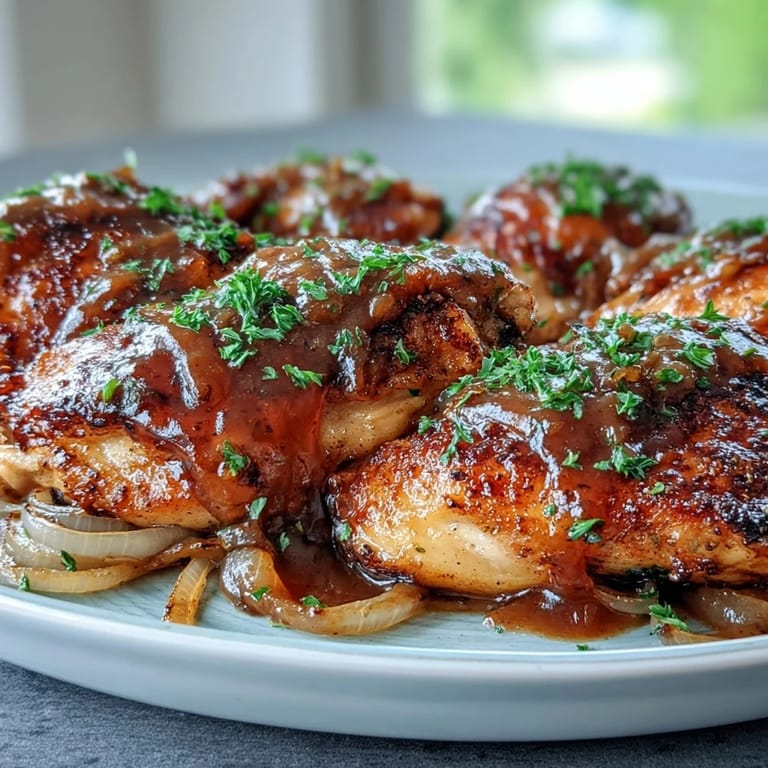
- Build the onion base:
- Pour off most of the oil, leaving just 2 tablespoons, then add your sliced onions to those flavorful browned bits stuck to the pan. Stir frequently, letting them soften and turn golden around the edges, about 8 to 10 minutes—this is where the gravy's soul lives, so don't skip this step.
- Make the flour paste:
- Sprinkle your reserved flour over the softened onions and stir constantly for a minute or two until it turns light brown and smells toasty; this step cooks out the raw flour taste and thickens the gravy without lumps. You'll see the flour coat every strand of onion like silk.
- Add the broth:
- Whisk the broth in slowly, scraping the bottom of the pan to release all those caramelized bits into the liquid—they're packed with flavor. The gravy should go from thick and pasty to glossy and pourable as you whisk, about 2 to 3 minutes until it coats the back of a spoon.
- Nestle and simmer:
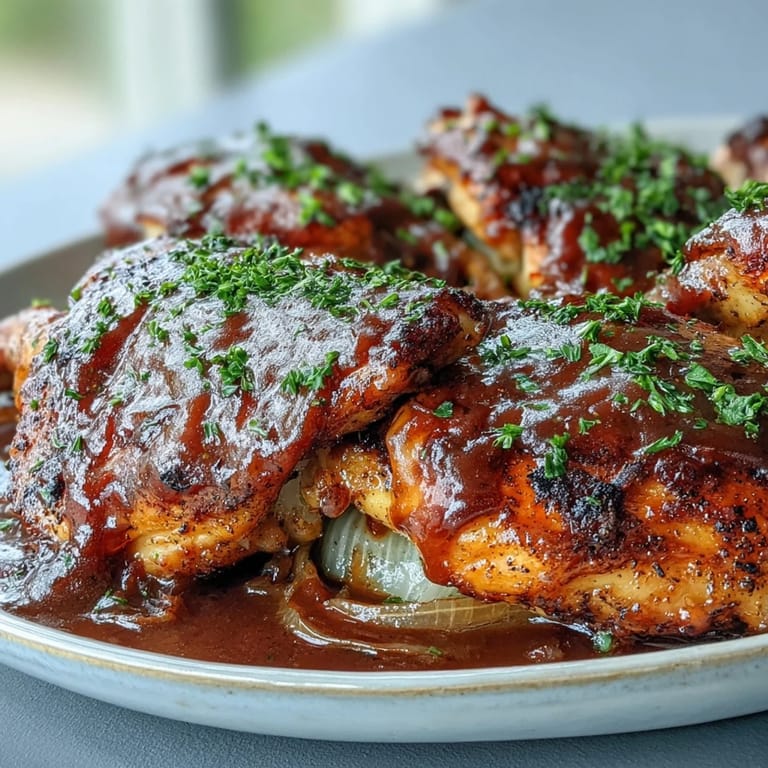
- Return the chicken to the skillet, settling each piece into the gravy, and spoon some gravy over the top so nothing dries out. Cover and reduce heat to low, simmering gently for 25 to 30 minutes until the chicken is so tender it nearly falls from the bone and reaches 165°F internally.
- Finish and serve:
- Taste the gravy and adjust seasoning—it should taste rich and savory, with that onion sweetness coming through. Serve immediately while everything is steaming, with mashed potatoes or rice to catch every drop.
 Save to Pinterest
 There's a moment near the end of cooking when the smell reaches a point where you can't think about anything else—that's when you know it's working. I once had a friend sit at my kitchen counter just breathing it in before we even ate, and she told me later that smell reminded her of being cared for, which felt like the highest compliment a cook could get.
About That Crispy Skin
Getting the skin to stay crispy while the gravy is bubbling around it seems impossible, but here's the trick: once you add the chicken back to the gravy, keep the lid on the skillet but prop it open just a crack with the handle of a wooden spoon. The steam needs somewhere to escape, and that little gap is just enough—you'll see the skin hold its texture while the meat underneath gets tender and pulls away from the bone.
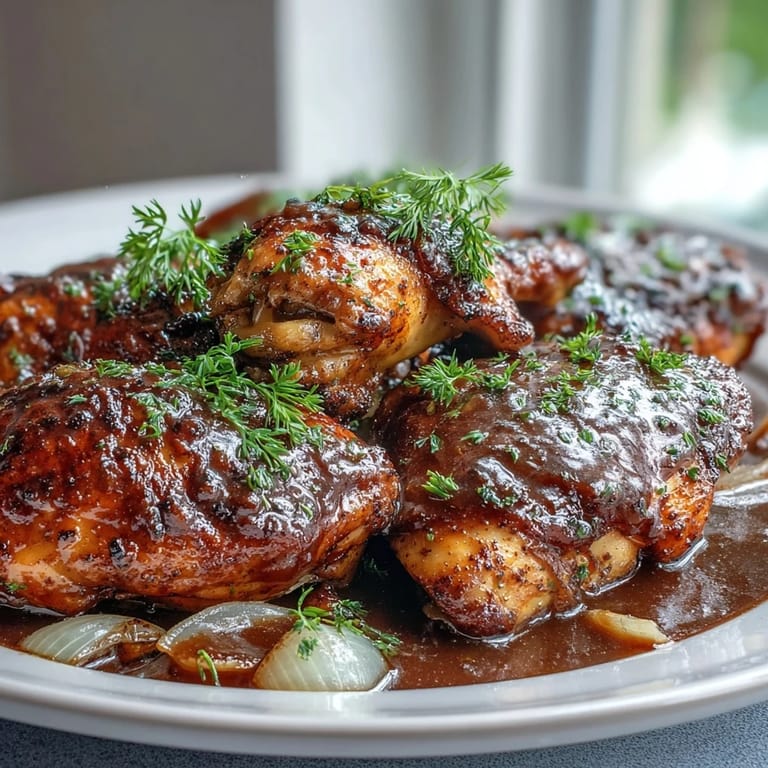
The Gravy Is Everything
I learned this by making the mistake of treating the gravy as a side component instead of the whole point, and let me tell you, that taught me something important. The gravy should be rich enough that you want it on your mashed potatoes, your chicken, your plate by itself if you had the nerve—it's the vehicle that makes each bite feel like a hug. If yours tastes thin or too salty, resist the urge to add more broth; instead, let it simmer uncovered for another few minutes to concentrate the flavors and thicken naturally.
Serving and Storage
This dish tastes even better the next day when the flavors have melded and settled into each other—I often make it on a Sunday and eat it cold straight from the fridge on Wednesday, though heating it gently on the stove is the civilized approach. Leftovers keep for three days in the refrigerator, and you can freeze the whole thing for up to three months (the skin won't be as crispy after thawing, but the flavor is just as deep and satisfying).
- Serve with collard greens or green beans on the side to cut through the richness with something bright.
- If you're feeding a crowd, double the recipe but don't double the cooking time—use a larger skillet or work in batches so the chicken browns properly.
- Store gravy separately from chicken if you plan to freeze it, so you have better control over reheating and can refresh the skin in the oven if you want.
 Save to Pinterest
 This is the kind of dish that reminds you why people gather around tables, why recipes get passed down, and why feeding someone is really just another way of saying I care. Make it for someone, and watch what happens.
Questions & Answers
- → What cut of chicken works best?
Bone-in, skin-on thighs and drumsticks provide optimal flavor and texture for this dish.
- → Can I use boneless chicken?
Yes, boneless chicken can be used but reduce simmering time by about 10 minutes to avoid overcooking.
- → How do I make the onion gravy rich and flavorful?
Sauté onions until golden and softened, then whisk in flour and broth gradually, adding butter and seasonings for depth.
- → What side dishes pair well?
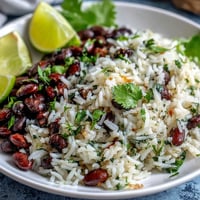
Mashed potatoes, rice, or collard greens complement the savory gravy and tender chicken beautifully.
- → Can I add heat to the seasoning?
A pinch of cayenne pepper in the flour mix adds a gentle kick without overpowering the dish.