 Save to Pinterest
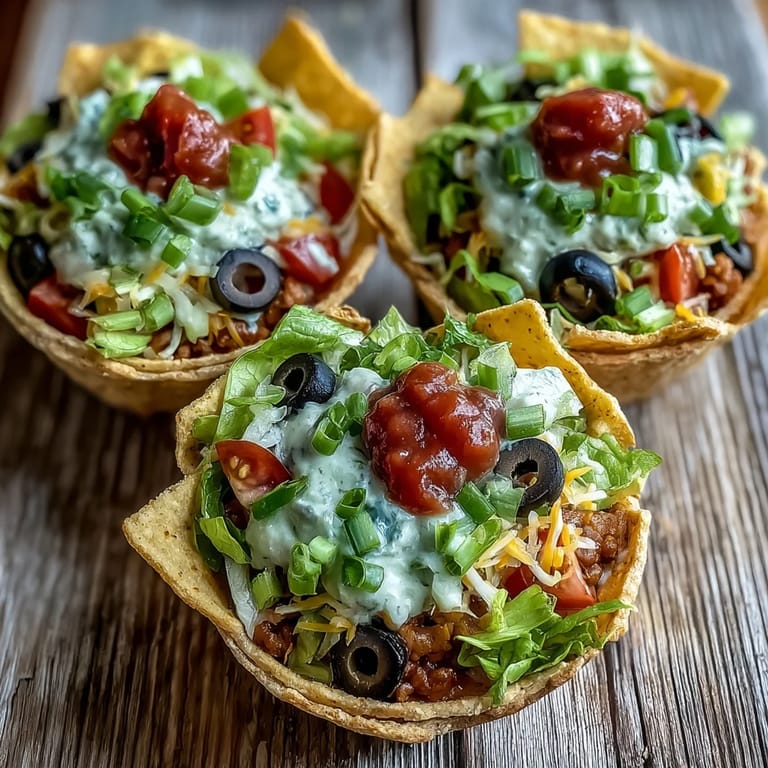
 Last summer, I showed up to a neighborhood potluck with these taco dip cups and watched them vanish in under ten minutes—literally faster than I could refill the chip bowl. My neighbor kept asking for the recipe because her kids actually ate the vegetables without complaining, which felt like a minor miracle. It turns out that serving dip in individual cups instead of one giant bowl changes everything: people feel like they're getting something special, the layers stay pristine instead of getting all mixed together, and there's something about the presentation that makes even the simplest ingredients feel celebratory.
My daughter's soccer team had a team dinner once, and I brought these because I could prep them in my kitchen at home without needing an oven at the field. What I didn't expect was how they became the conversation starter—parents were standing around the table talking more about who invented the cup idea than about the game we'd just watched. Sometimes the simplest dishes teach you that presentation and portioning matter just as much as flavor.
Ingredients
- Refried beans (1 can, 16 oz): The foundation that holds everything together, and honestly, a good quality can makes all the difference—some brands are creamier and less chunky than others, so taste test if you can.
- Sour cream (1 cup) and cream cheese (4 oz, softened): Together these create that dreamy middle layer that keeps everything moist and prevents the lettuce from wilting too quickly.
- Taco seasoning (1 packet, 1 oz): This is what ties all the flavors together, though you can absolutely make your own blend if you have cumin, chili powder, and garlic powder on hand.
- Shredded lettuce (1 cup): Use iceberg or romaine for crunch, and tear it by hand instead of chopping if you have time—it stays fresher longer.
- Cherry tomatoes (1 cup, diced): These little bursts of sweetness prevent the dip from feeling heavy, and I always drain them on a paper towel to avoid soggy cups.
- Black olives (1/2 cup, sliced): They add a salty punch and keep the whole thing from tasting one-dimensional.
- Shredded cheddar cheese (1 cup): Don't use pre-shredded if you can help it—block cheese shreds melt better and feel more luxurious.
- Green onions (1/4 cup, chopped): A handful of green onions scattered on top adds color and a subtle onion bite that makes people wonder what the secret ingredient is.
- Salsa (1/4 cup, optional): A small spoonful on each cup at serving time keeps it bright without making everything soggy.
- Tortilla chips: Go for the sturdy kind that won't break under the weight of dip.
Tired of Takeout? 🥡
Get 10 meals you can make faster than delivery arrives. Seriously.
One email. No spam. Unsubscribe anytime.
Instructions
- Mix the creamy layer:
- In a medium bowl, combine sour cream, softened cream cheese, and taco seasoning, stirring until you get a smooth, spreadable consistency with no lumps of cream cheese hiding in there. This is your glue, so spend a full minute really working it together.
- Choose your cups:
- Eight-ounce clear cups are ideal because you want people to see those gorgeous layers before they even taste it. If you don't have clear cups, small mason jars or even vintage juice glasses work beautifully.
- Layer the beans:
- Spoon about 2 tablespoons of refried beans into the bottom of each cup and use the back of the spoon to spread them into an even layer. This base layer needs to be compact so the next layer doesn't sink in.
- Add the creamy middle:
- Dollop approximately 2 tablespoons of your cream cheese mixture onto each cup's bean layer and smooth it flat with a small spatula or the back of a spoon. Take your time here—this layer should be even so the vegetables sit nicely on top.
- Build with fresh vegetables:
- Sprinkle lettuce first (it acts as a little bed), then scatter diced tomatoes and black olives over the top. The lettuce layer keeps the other vegetables from sliding around and adds that essential crunch.
- Top with cheese and onions:
- Finish each cup with a generous handful of shredded cheddar and a pinch of chopped green onions for color and flavor. This is where the cups go from looking good to looking restaurant-worthy.
- Final touch and serve:
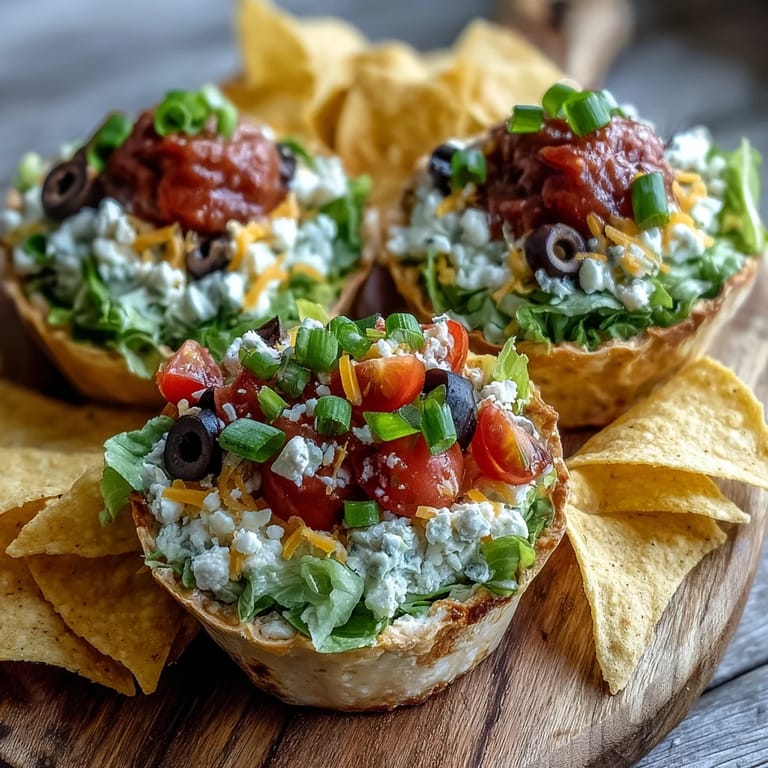
- If you're using salsa, add just a small spoonful to the very top of each cup right before serving so it doesn't soak down into the other layers. Set them out surrounded by tortilla chips and watch them disappear.
 Save to Pinterest
 My son brought these to his college dorm party, and somehow they became the thing people actually remembered about the night instead of the main dishes or the drinks. It made me realize that sometimes the smallest, simplest dishes end up mattering the most because they show up, they're delicious, and they ask nothing of anyone except to enjoy them.
The Magic of Individual Portions
There's something psychological about serving food in its own little container instead of expecting people to crowd around a bowl with a single spoon. With these cups, each person gets their own perfectly balanced bite of layers, nobody has to worry about double-dipping, and everyone feels like they're getting a complete, thoughtful appetizer rather than scraps. I've noticed people eat slower when food feels special, and these cups trick the brain into thinking you made something fancy when really you just layered things smartly.
Make-Ahead Strategy That Actually Works
You can assemble these cups up to four hours before your party, which is honestly what makes them perfect for entertaining—no last-minute scrambling in the kitchen while guests are already sitting down. The secret is keeping the dry ingredients (beans, cream cheese mixture, cheese) in their layers while storing the wet and fresh ingredients separately, then assembling the final toppings right before you serve them. I keep them covered loosely with plastic wrap on the bottom shelf of my fridge so they stay cold and fresh without getting crushed by anything else.
Variations and Customizations
These cups are endlessly flexible depending on what you have in your kitchen or who you're feeding, and that's part of why I keep making them. You can add pickled jalapeños if you want heat, use Greek yogurt instead of sour cream for a lighter version, swap in cotija cheese for something tangier, or even add a thin layer of guacamole if you're feeling fancy. The beauty is that the basic structure stays the same while the flavors can shift to match whatever crowd you're feeding.
- Swap Greek yogurt for sour cream if you want fewer calories and less richness.
- Sprinkle jalapeños, cilantro, or cotija cheese for variations that feel completely different.
- Make these vegetarian or fully vegan by using cashew cream instead of dairy layers.
 Save to Pinterest
 These cups have shown up to so many of my gatherings that people now expect them, and I take that as the highest compliment. They're proof that you don't need to spend hours cooking to make people feel welcomed and cared for.