 Save to Pinterest
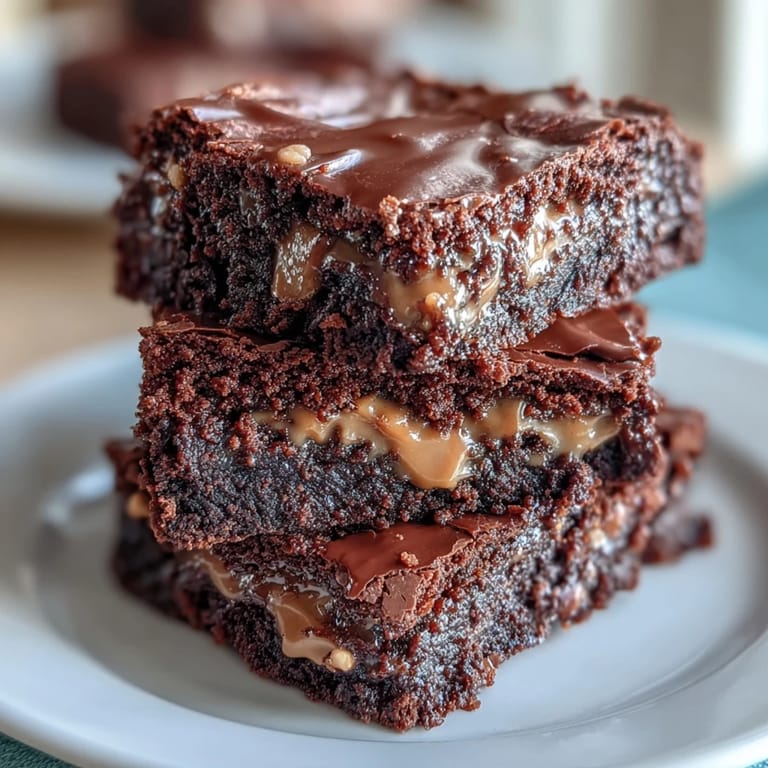
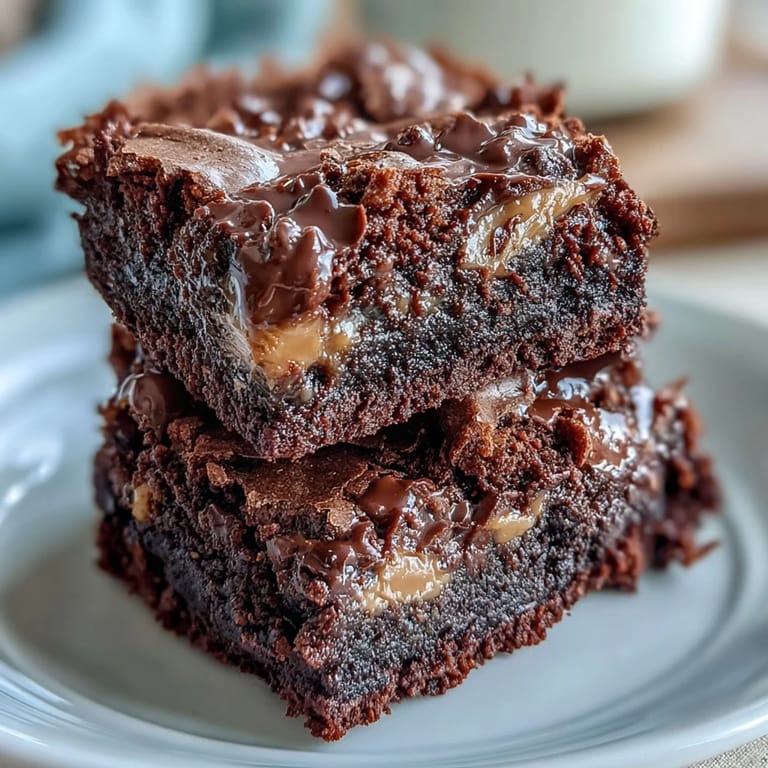
 Last Tuesday, I was staring at my sourdough starter with that familiar guilt—half a cup of discard that needed rescuing before feeding day. Instead of composting it, I wondered what would happen if I baked it straight into brownies, and honestly, the result was so fudgy and tender that I've been using discard on purpose ever since. There's something almost magical about transforming kitchen scraps into something this rich and satisfying.
My neighbor popped over unexpectedly one Saturday and caught the aroma of these baking—she literally followed her nose through my front door. We sat at the kitchen counter still warm from the oven, and she kept saying she couldn't believe sourdough discard made something taste this good. That moment taught me that the best recipes are the ones that make people curious enough to ask for seconds before they even finish their first piece.
Ingredients
- Unsalted butter: Use real butter here because it carries the chocolate flavor forward—margarine flattens everything out.
- Semisweet chocolate chips or chopped chocolate: The quality matters more than you'd think; I learned this the hard way by grabbing the cheapest chips and regretting it immediately.
- Sourdough discard (unfed): Unfed discard is thinner and blends seamlessly into the batter, adding moisture and a subtle tang that deepens the chocolate flavor.
- Granulated sugar: This sweetens the batter and helps create that fudgy crumb structure you're after.
- Large eggs: They bind everything together and add richness—room temperature eggs mix more smoothly into the chocolate.
- Vanilla extract: Just a teaspoon rounds out the chocolate without making it taste vanilla-forward.
- All-purpose flour: Keep the measurement exact here; too much flour turns these cakey instead of fudgy.
- Unsweetened cocoa powder: This intensifies the chocolate depth and gives you that classic brownie complexity.
- Fine sea salt: Don't skip this—it makes the chocolate taste more like chocolate and balances the sweetness.
- Creamy peanut butter: Smooth peanut butter swirls more elegantly than chunky, but use whichever you prefer in your morning toast.
- Powdered sugar (optional): A tablespoon sweetens the peanut butter layer and makes the swirl less likely to sink.
Tired of Takeout? 🥡
Get 10 meals you can make faster than delivery arrives. Seriously.
One email. No spam. Unsubscribe anytime.
Instructions
- Prepare your pan and oven:
- Preheat to 175°C (350°F) and line a 20x20 cm square pan with parchment paper, leaving some overhang so you can lift the cooled brownies out cleanly. This step takes thirty seconds but saves you from frustrated scraping later.
- Melt chocolate and butter together:
- In a microwave-safe bowl, heat them in 30-second bursts, stirring between each one until glossy and smooth. The patience here prevents scorched chocolate, which ruins everything immediately.
- Combine wet ingredients:
- Whisk the sourdough discard, sugar, eggs, and vanilla in a large bowl until the mixture is pale and the sugar dissolves slightly. You'll notice the discard disappears into the eggs, leaving no visible lumps.
- Marry the mixtures:
- Pour the cooled chocolate into the egg mixture and whisk until smooth and shiny. Let this cool for just a minute so the warmth doesn't cook the eggs.
- Fold in dry ingredients gently:
- Sift the flour, cocoa, and salt over the top, then use a spatula to fold everything together with as few strokes as possible. Overmixing develops gluten, which makes brownies tough instead of tender.
- Transfer to pan:
- Pour the batter into your prepared pan and use a spatula to smooth the top into an even layer. Don't stress about making it perfect—it will look better after it bakes.
- Create the peanut butter swirl:
- Mix peanut butter with powdered sugar if using, then drop small spoonfuls across the brownie surface. Use a skewer or thin knife to drag through the dollops in a figure-eight pattern for a gentle swirl effect.
- Bake until just set:
- Bake for 28–32 minutes until a toothpick inserted in the center comes out with moist crumbs still clinging to it. The brownies will continue to cook slightly as they cool, so stopping early keeps them fudgy rather than cakey.
- Cool completely:
- Let them rest in the pan at room temperature until completely cool, then slide onto a cutting board and slice into sixteen squares. Warm brownies fall apart; cold ones slice cleanly.
 Save to Pinterest
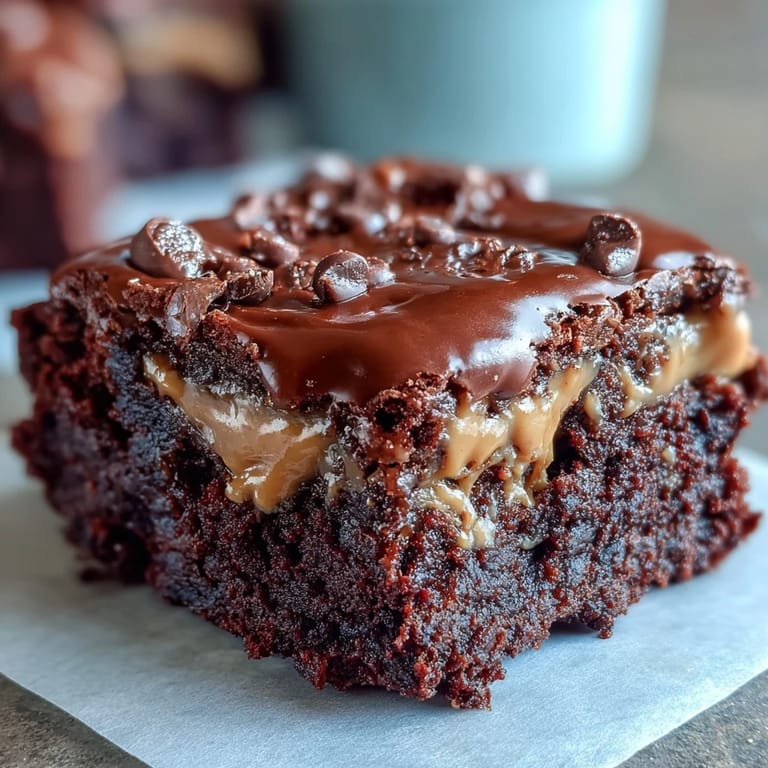
 There was a quiet moment one morning when my partner took a brownie straight from the container before breakfast, then came back for a second one without saying anything. That's when I knew these weren't just a way to use up starter—they were actually special. Food that makes someone reach twice without thinking is the kind worth remembering.
Why Sourdough Discard Changes Everything
When I first thought about adding sourdough discard to brownies, I worried it would taste sour or fermented, but the opposite happened. The discard's moisture and acids actually intensify the chocolate flavor and create a crumb that stays soft for days without tasting old. It's one of those happy accidents where using what you have on hand turns out to be better than following the original recipe exactly.
Timing and Temperature Matters More Than You Think
I made these brownies three times before I figured out the temperature game. The first batch at 190°C baked too fast on the edges and stayed raw in the middle, the second time at 160°C took forever and came out slightly cakey. At 175°C, everything bakes evenly and that fudgy center sets up just right without overcooking the edges.
Storage and Serving Ideas
These brownies stay moist and delicious in an airtight container for up to five days, which makes them perfect for meal prepping little afternoon treats. I've found they taste even better the day after baking, when the flavors have time to settle and the texture becomes even more fudgy.
- Serve them warm with vanilla ice cream melting on top for an instant dessert that feels fancy without trying.
- Pack them in lunchboxes or gift boxes because homemade brownies say you spent time thinking about someone.
- Toast one gently in a toaster oven before serving to bring back that fresh-baked warmth and fudgy center.
 Save to Pinterest
 These brownies prove that the best recipes come from working with what you have, not waiting for perfect conditions. Every time I make them, I'm grateful for that moment when guilt about sourdough discard turned into something worth baking again and again.
Questions & Answers
- → What role does sourdough discard play in these brownies?
Sourdough discard adds moisture and a subtle tang, enhancing the brownies' texture and flavor complexity.
- → Can I substitute peanut butter in the swirl topping?
Yes, for nut-free options, sunflower seed butter works well and maintains the creamy swirl effect.
- → How do I know when the brownies are baked perfectly?
Check that a toothpick inserted in the center comes out with moist crumbs but no wet batter, indicating gooey, fudgy brownies.
- → Is it necessary to melt chocolate with butter together?
Melting them together creates a smooth, rich chocolate base that blends evenly with other ingredients, ensuring fudgy texture.
- → Can I add nuts or chocolate chips for extra texture?
Absolutely, folding in nuts or chips before baking adds crunch and variation in each bite for added enjoyment.